Hey, friends! I have had so many fall cards to make over the past few weeks for swaps. I couldn't be happier, because that must mean Fall is on the way! I am done with heat, I am ready for rich colors dripping from trees, the hum of happiness in the air, and homemade stews simmering on the stove. I didn't do a traditional 'Fall' card with an autumn saying, or for a Fall holiday. I went with my feelings about fall, the colors, the comfort. What I ended up with is vintage in style, fall in color, and original in application. I, quite by accident, discovered a new technique that I love:)
We all know how to clear emboss an image, then sponge/brayer over it, then place the image face down on a few paper towels and use an iron on high heat to remove the embossing. Right? It's nothing new. But, it covers the embossed area, allows you to fill around it, then allows the embossing to be removed, leaving smooth paper. It's cool, I have been doing it forever. But, usually after I sponge all around the image, I will lightly mist a paper towel with Stampin Mist and buff the ink off of the embossed areas. No reason, I just always do. Well, tonight I did not. I left the ink on, and went straight to ironing the embossing off. What is left is really neat. Some of the ink pulled back onto the image after ironing. It's great! I won't always do it, but it's a different look. For those who can't tell what I am yakking about (don't worry, happens all the time), click on the first picture and look at the white areas. They should be solid white. This time, they're not. I will be making this mistake more often! I love the look.
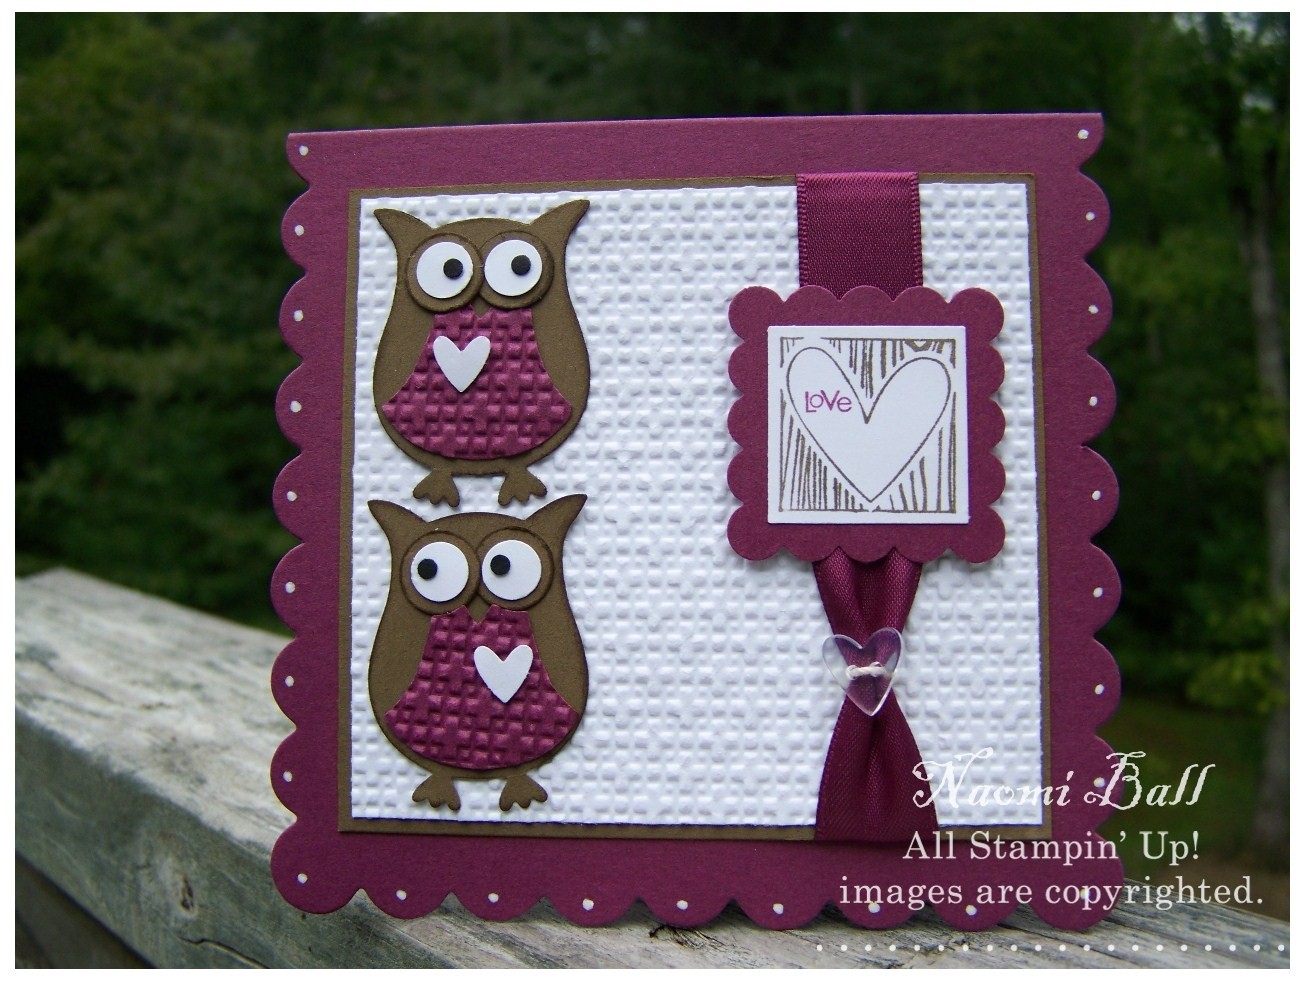
Since I went off on a talking spell there (again, happens all the time), I will end this post here. I just want to point out the detail pic below and how much taking time to properly 'age' papers really makes the vintage feel work. K...that's all, like I promised! Supplies listed below...
 Finished size: 5"x5"
Supplies: All from SU!
Stamps: Medallion, Define Your Life
Paper: Early Expresso, Cherry Cobbler, Whisper White
Ink: Early Expresso, Cherry Cobbler, Pumpkin Pie, Daffodil Delight, VersaMark
Punches: Wide Oval, Modern Label, Word Window
Accessories: Chantilly Crochet Trim, Square Rhinestone Brad (Fire), Clear EP, Sponges, Dimensionals, Stick Strip --- Household Iron